- Home
-
Forums
- Good Game HQ
- Tournaments & Events
- Gaming
- Off-Topic
- Members
-
Info
- Reviews
- Feature Articles
- Gaming News
- Guides & Tips
- Videos
- Clan Directory
-
Events
- General Rules
- Match, Tourney & Event News
- Hall of Fame
- Community Events
- KZ:SF Coop
Build a Clan Website
Step by step guide to building a home for your clan
The methods and options for building a clan/organisation/guild website are many and varied. You’ll be taken through the simplest, cheapest, easiest and also the most practical ways to create your site.
To broaden the choice available for gamers, and avoid overlap with events taking place at other ANZ sites, our competitions are deliberately designed to be meaningfully different to those run elsewhere (for example, compared with the more e-sports oriented sites, our rulesets will be generally be less restricted).
Enjin provides free site building tools and site hosting, in return for the display of advert banners on your site. You can pay to have these banners removed, which includes other nice features such as being able to use a proper domain name, more users in a chat bar and much more. This is based on a monthly subscription.
Signing Up
Getting started on your new venture

Step 1
The first thing you’ll need to do is visit www.enjin.com and sign-up. The sign up process is straight forward... well if the captcha doesn't try to trip you up too badly.
Step 2
Once you've figured out the Da Vinci code, head on over to your email inbox, you should have received a verification link, select it and you'll be directed back to the Enjin site.
Step 3
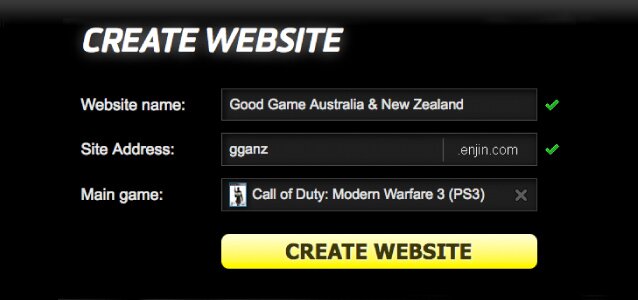
All going well you'll now be greeted with a pop-up, asking you to name your site, what you'd like your URL (site address) to be and what your main game is. We went with Call of Duty: MW3 as displayed in the image to the right but feel free to pick whatever you want.
Upon clicking 'Create Clan Website' you're probably thinking there’ll be a fair bit involved before you have a functional site... well think again. It's obvious that Enjin has been there done that a few times before and have this figured out. But what if you don't like the blue or if you want a custom banner? Well Enjin has it covered - for some of it there is a cost so that’s up to your budget and how much you’re willing to spend.
Site Skin Theme
Adding the personal touches
Step 1
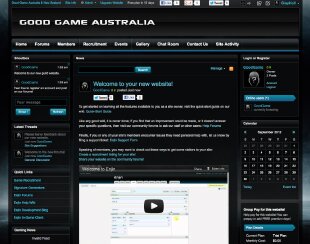
Just like creating the site, changing the site's theme is a snap. At the top of the site you’ll see a link ‘Admin’, hover over it, scroll down and select ‘Themes’.
The swapping of the theme has made the site look a ton better, but it looks identical to any other site with the same theme. Customising the theme is extremely easy thanks to the Enjin Theme Editor which updates your site as you make changes... too easy.
Step 4
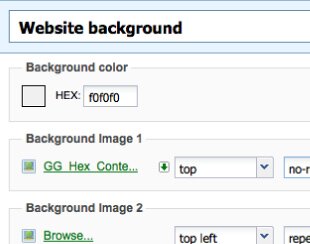
The next step you’ll change the site background, often called the 'wrapper or content wrapper'. To do this select 'website background' from the drop down, then click the little 'bg.gif' link and it'll allow you to select and upload your own background. The background you have used is one solid piece, so you’ll want it locked at the 'top' with 'no-repeat'.
The rest of the site can be personalised in the same fashion, simply select the different elements from the drop down and see what you can come up with.
Step 2
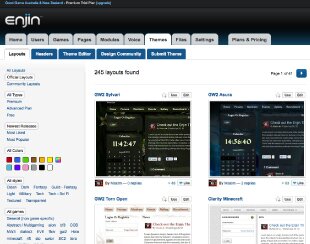
Within moments you’ll have 245 (or more) potential themes to pick from. Simply flick through the 40 odd pages of themes until you find one you like (note, some themes are commercial and come with an additional charge). We chose Clarity as per the image above. Select 'Use' at the top right and you're off like a bag of prawns in the sun.
Step 3
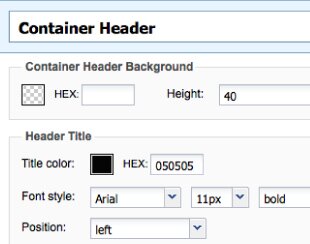
Select 'Create Theme', pick the theme you're using, (we used Clarity) and name the new theme you're creating. You should now see the theme you've created in the list, select 'Editor' and you're greeted with something that’ll look like the above image.
Step 5
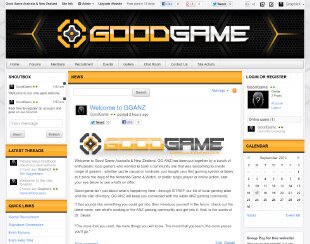
The last and possibly the most important part of your theme to change is the header/banner at the very top. To do this navigate to 'Modules' from within the admincp, scroll down to 'Header Module' and select 'Edit'.
Within the next screen you can select your own custom banner/header to upload.
Select the little trashcan icon next to the header name. Then select 'upload header image'.
That should feel a little more homely.
You’re now the proud owner of a shiny new clan site. Stay tuned for future guides with tips on how to setup a forum, how to setup and modify modules, how to create a YouTube channel and display your videos on your site along with many other useful tips.
Note: This guide is work in progress. If there is something unclear, feel free to let us know in
this thread.

-

The "What are you playing...
-
PC and Steam General Discussion
-

General Movie Discussion
-

Tricky Towers and Rebel Galax...
-

The random talk whatever thread
-

Final Fantasy XV